Physical Address
304 North Cardinal St.
Dorchester Center, MA 02124
Physical Address
304 North Cardinal St.
Dorchester Center, MA 02124

If you sell anything online — handmade earrings, candles, skincare, or software dashboards — you already know the bottleneck. The photo. Buyers scroll past listings that look amateurish, and a proper studio shoot can easily run $300 to $800 for a half-day session. For a new seller with twelve SKUs, that math simply doesn’t work.
The good news is that decent product photography no longer requires a studio, a DSLR, or a hired photographer. Most of what you need fits on a kitchen table, and the rest can be filled in with software. Here is the beginner setup.
The single biggest jump in photo quality doesn’t come from a better camera. It comes from better light. A window facing north (or south, in the Southern Hemisphere) gives you soft, diffused light for most of the day — the same soft-light effect many studio lights are designed to create. Set up a small table about a foot from the window, with the product roughly perpendicular to the light source. That solves one of the biggest problems.
If your only window is harsh and direct, tape a sheet of white parchment paper or a thin white cotton cloth over it. Instant diffuser. Cost: under $5.
You don’t need a “studio kit.” You need:
Total: around $30. For many small products, this can work better than a cheap lightbox.
Switch your phone to the highest-resolution photo mode. Turn off the wide-angle lens — it distorts product proportions and makes the front of the item look bulbous. Tap on the product to lock focus, then drag the exposure slider down slightly so highlights don’t blow out. Use a 2-second timer instead of pressing the shutter, which prevents micro-shake.
For most products, the standard 1x or 2x lens on a modern phone gives sharper, more accurate results than any AI “portrait mode,” which tends to soften edges that buyers actually want to see clearly.
The DIY setup above works well when you have the product in hand. But there is a category of shots that’s harder to fake at home: lifestyle context, seasonal scenes, model shots, and variant previews (“show me this mug in olive green, on a rustic café table”). Booking a real shoot for every variant is what kills small-seller margins.
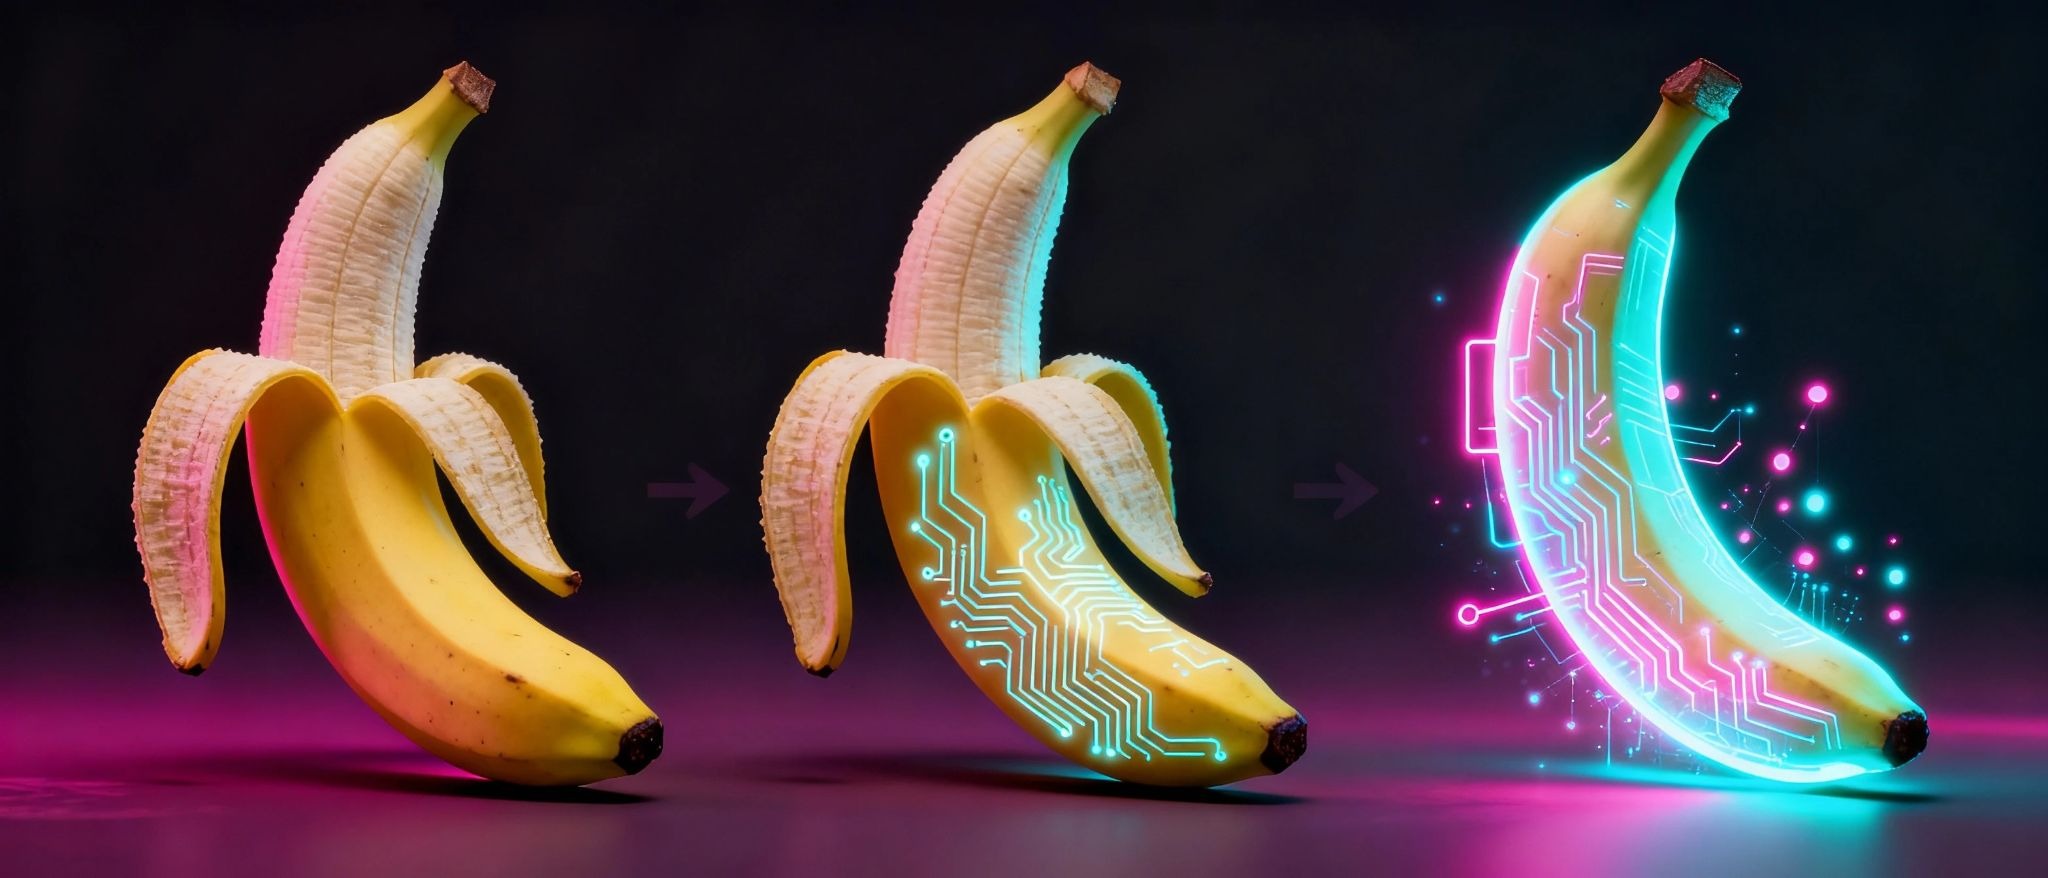
This is where AI image generation has become a practical part of the workflow. For example, Nana Banana Pro’s AI image generator can help turn a clean product shot into simple lifestyle variations for ads, email, or social posts. That can turn one afternoon of shooting into enough images for a small ad test.
A reasonable workflow looks like this: shoot the hero product photo at home, then generate three or four lifestyle variants for ads, email, and social. Keep your real product photo for the main listing — buyers still trust unedited shots — and use the generated images for marketing context, where the image supports the campaign rather than the product listing.
A note on honesty: don’t use AI to misrepresent the product itself. Don’t change the color of a candle and sell it as that color, or generate a “lifestyle shot” of a feature the product doesn’t have. Buyers notice, and some platforms and ad channels may require disclosure for synthetic or heavily edited imagery. Customers are more likely to forgive AI-assisted images when the seller is clear about what was edited.
You don’t need a professional editor to clean up product photos. Modern phones ship with built-in tools that handle selective brightness, contrast, and basic color correction. For desktop work, free open-source image editors cover background removal and tone adjustments without a subscription. Keep edits simple and avoid moving the product too far from the original shot.
The edits that actually matter for product photos are small ones. Boost the white background to pure white if your platform requires it. Increase contrast a touch. Sharpen slightly. Resist the urge to oversaturate — colors that look “punchy” on your phone often look fake on a desktop monitor, where your buyer is actually making the decision.
DIY is the right call in the early days of a catalog, especially before you have predictable revenue. Once you have steady sales and a clear visual identity, hiring a photographer for a half-day a quarter starts to pay for itself — especially for hero images that appear in paid ads. The point is simple: do not wait for a studio before you launch.
Most listings that lose to a competitor don’t lose because of the camera. They lose because the seller waited six months to shoot anything, hoping to afford “real” photography first. The setup above can be assembled this afternoon, for the cost of one mediocre lunch out.
