Physical Address
304 North Cardinal St.
Dorchester Center, MA 02124
Physical Address
304 North Cardinal St.
Dorchester Center, MA 02124

When customers see your products, do they see a business they can trust?
Oftentimes, your customers can tell if you care about your brand presentation. Being mindful of such simple details can even impact their impression of how you handle other parts of their buying experience, such as product quality, packaging, and even customer service.
On the other hand, product photos that don’t represent actual colors, have mismatched angles, have bad lighting, and show random product sizes only turn buyers off.
Inconsistent product photos make your e-commerce business look weak.
Consistency starts with understanding the key visual elements that shape every product image.
For e-commerce brands, this usually comes down to a few core elements: background, lighting, color accuracy, product angle, image framing, shadows, and overall editing style. If you handle these elements properly, you’re sure to see a more professional-looking product catalog.

As your store grows, the time you spend on maintaining everything becomes more complex. For such cases, you need to create a workflow that you can follow every time to easily keep everything consistent. This will help keep your editing process organized and help your images stay aligned with your brand always.
You should decide how your product photos should look before you start editing. Try editing one photo first, then standardize it across the rest of your product images. This includes all the key visual elements needed for visual consistency.
Creating different folders for your raw, edited, and finalized images will keep your files organized. You also need to set a good naming convention for your images for easy sorting and searching. These will help you track your progress more easily and will help you avoid mixing up unfinished files with upload-ready images.
While you organize your files, make sure to also group similar products together. This way, you can work in batches and apply same adjustments. This step will save you a lot of time when editing.
Presets and templates are very handy for repeated edits. It will save you time from cropping, background cleanup, applying shadows, and creating export settings. However, it is a rule to still review each image manually to make sure that your products look accurate.
Before you finalize and save your images, take some time to check them side by side and look for anything that seem out of place. This could be uneven spacing, mismatched colors, inconsistent backgrounds ot product sizes that look too different.
AI tools can make editing your product photos easier and will support your workflow. Instead of removing backgrounds easily and making repeatable adjustments, AI tools can do it for you. Here are some tips when choosing AI tools for image editing:
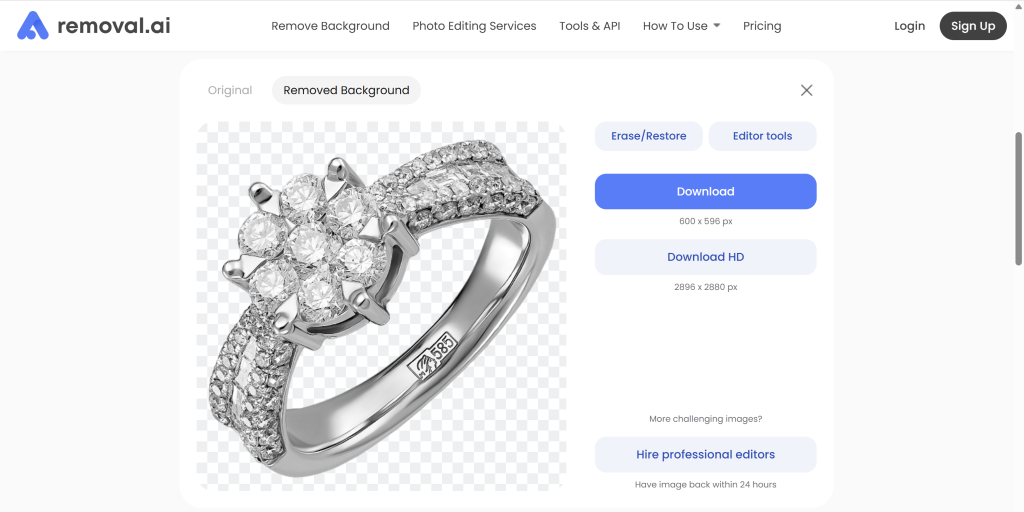
Always choose a tool that supports your product photo standards instead of forcing you to change your style just to fit the tool.
When implemented strategically, AI will not replace good decision-making but will reduce barriers to efficiency, increase workflow productivity, and provide opportunities for team members to focus on actions of greater value to the organization.
Since you handle a lot of images for your e-commerce store, batch processing is highly recommended.
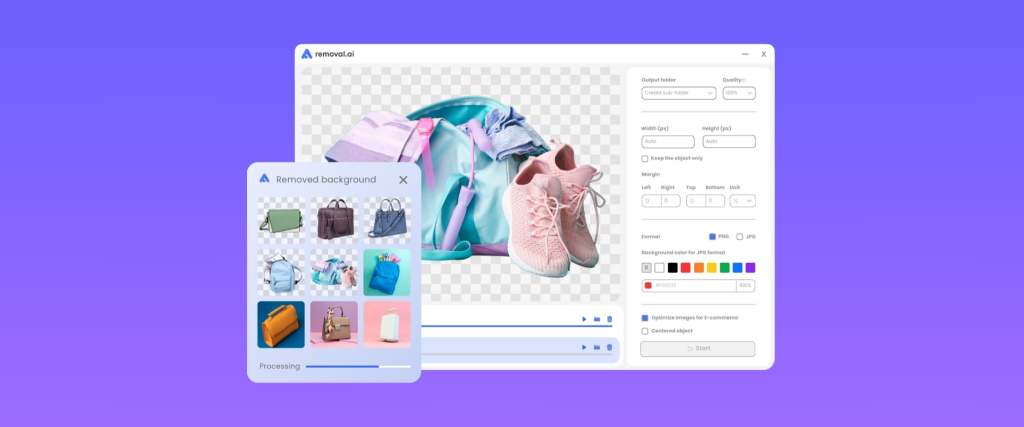
You can start by categorizing your photos by product type, angle , background, or collection. Then upon batch processing, set adjustments for each category such as, the new background color, lighting corrections, cropping, shadows, and image sizes. Thiis will help you create a uniform look without having to repeat the steps over and over again.
However, batch edited images still need a final review. Make sure that the images are up to your quality standards before finalizing and uploading them to your website. The goal is to use batch editing to save time while still checking that every product looks accurate, clear, and consistent with the rest of your catalog.
A brand style guide helps keep your product photos consistent, especially when you are working with different photographers, editors, or team members. It serves as a simple reference for how every product image should look before it goes live.
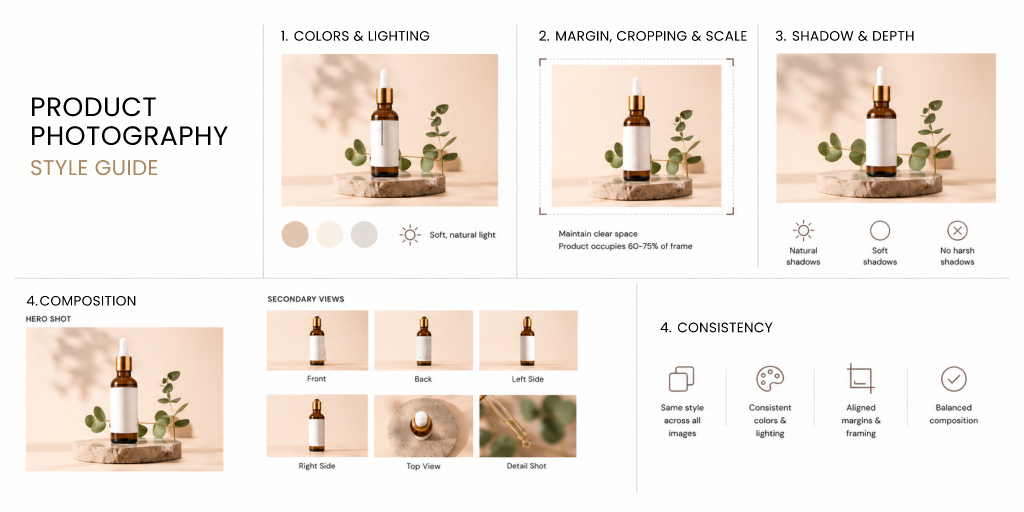
You should start by defining how you want your photos to look like. This may include your preferred background, lighting style, product angles, cropping, shadows, image size, and overall editing style. These details will help your photographer follow the same standards.
Your guide should also include examples of approved product photos. Visual references make it easier to understand what “consistent” actually looks like for your brand. You can also add examples of what to avoid, such as uneven lighting, incorrect colors, messy backgrounds, or mismatched cropping.
Remember to keep your guide simple, practical, and easy to follow for photographers and editors. As your brand grows, your guide will save you time from giving out instructions repeatedly, and more importantly, makes sure that your images are always looking consistent.
Before uploading your product photos, take time to review them as a full set. A photo may look good on its own, but it should also look consistent with the rest of your catalog.
Use this checklist as your reference to find small issues before uploading them to your website:
With this final review, you can make surethat your product images are not only polished individually but also consistent across your entire storefront.
As you manage your e-commerce website, keep in mind that impression is important. How your storefront looks reflect your effort to provide the best products to your customers. Being consistent will give consumers the confidence to try your products or service.
Having a good workflow, tools, and clear product photo style guides, you can make sure that your catalog remains polished as your product line grows. In the end, being consistent is not just about creating aesthetic images, but it’s also about building a strong brand experience that make customers trust you.