Physical Address
304 North Cardinal St.
Dorchester Center, MA 02124
Physical Address
304 North Cardinal St.
Dorchester Center, MA 02124

In this guide, I’ll use a low-resolution portrait as an example to show how to enhance a photo into a clearer HD image, and how to check whether the final result still looks natural without obvious AI-generated artifacts.
Open the HD photo enhancer and go to the image processing page.
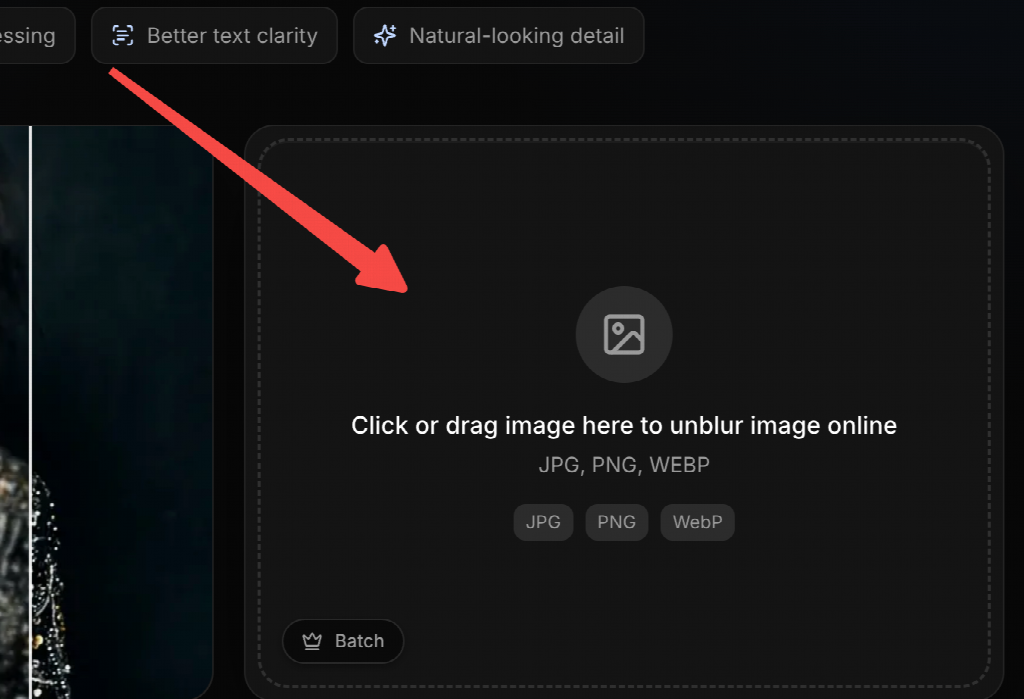
Click the upload box to choose the image you want to enhance, or simply drag and drop it into the upload area.
There are two processing options.
If the original image still has most of its main details visible and you mainly want to improve its clarity and resolution, choose Option 1.
If the original image is low-resolution and already lacks finer details, choose Option 2. This option uses AI to reconstruct more detail based on the original image.
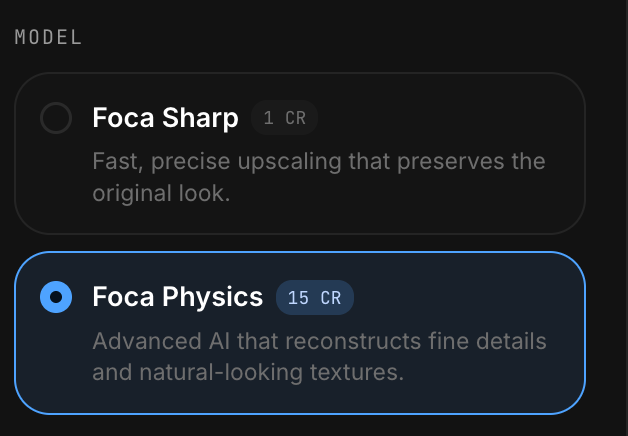
For this test image, I chose Option 2.
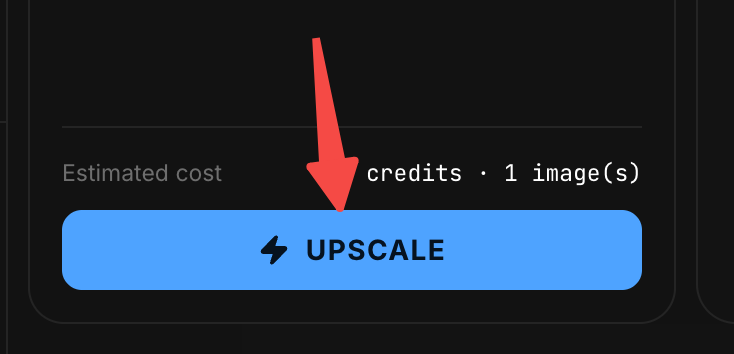
Click the Upscale button to start processing the image.
Wait for the processing to finish.
Once the processing is complete, zoom in on the preview area and take a closer look at how the enhanced details turned out.
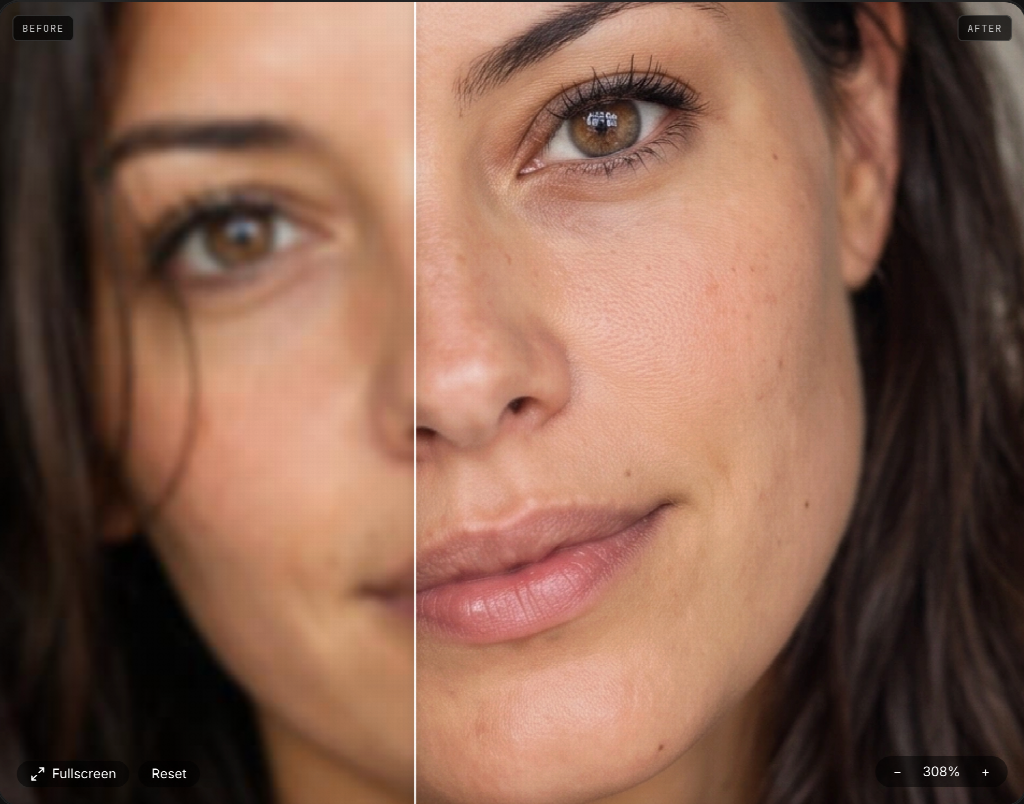
In this example, the enhanced image looks much clearer. Details in the face, hair, and other areas are more visible, while the overall result still looks natural, without obvious over-sharpening or unnatural artificial details.
Overall, the enhancement mainly adds detail based on what can reasonably be inferred from the original image, improving clarity and resolution without noticeably changing the person’s appearance.
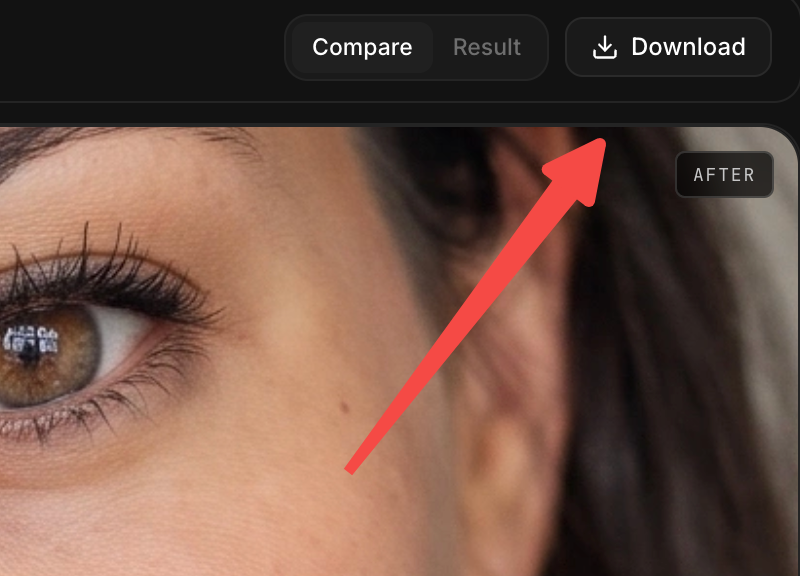
If you’re satisfied with the result, click the Download button in the top-right corner to save the enhanced image.
