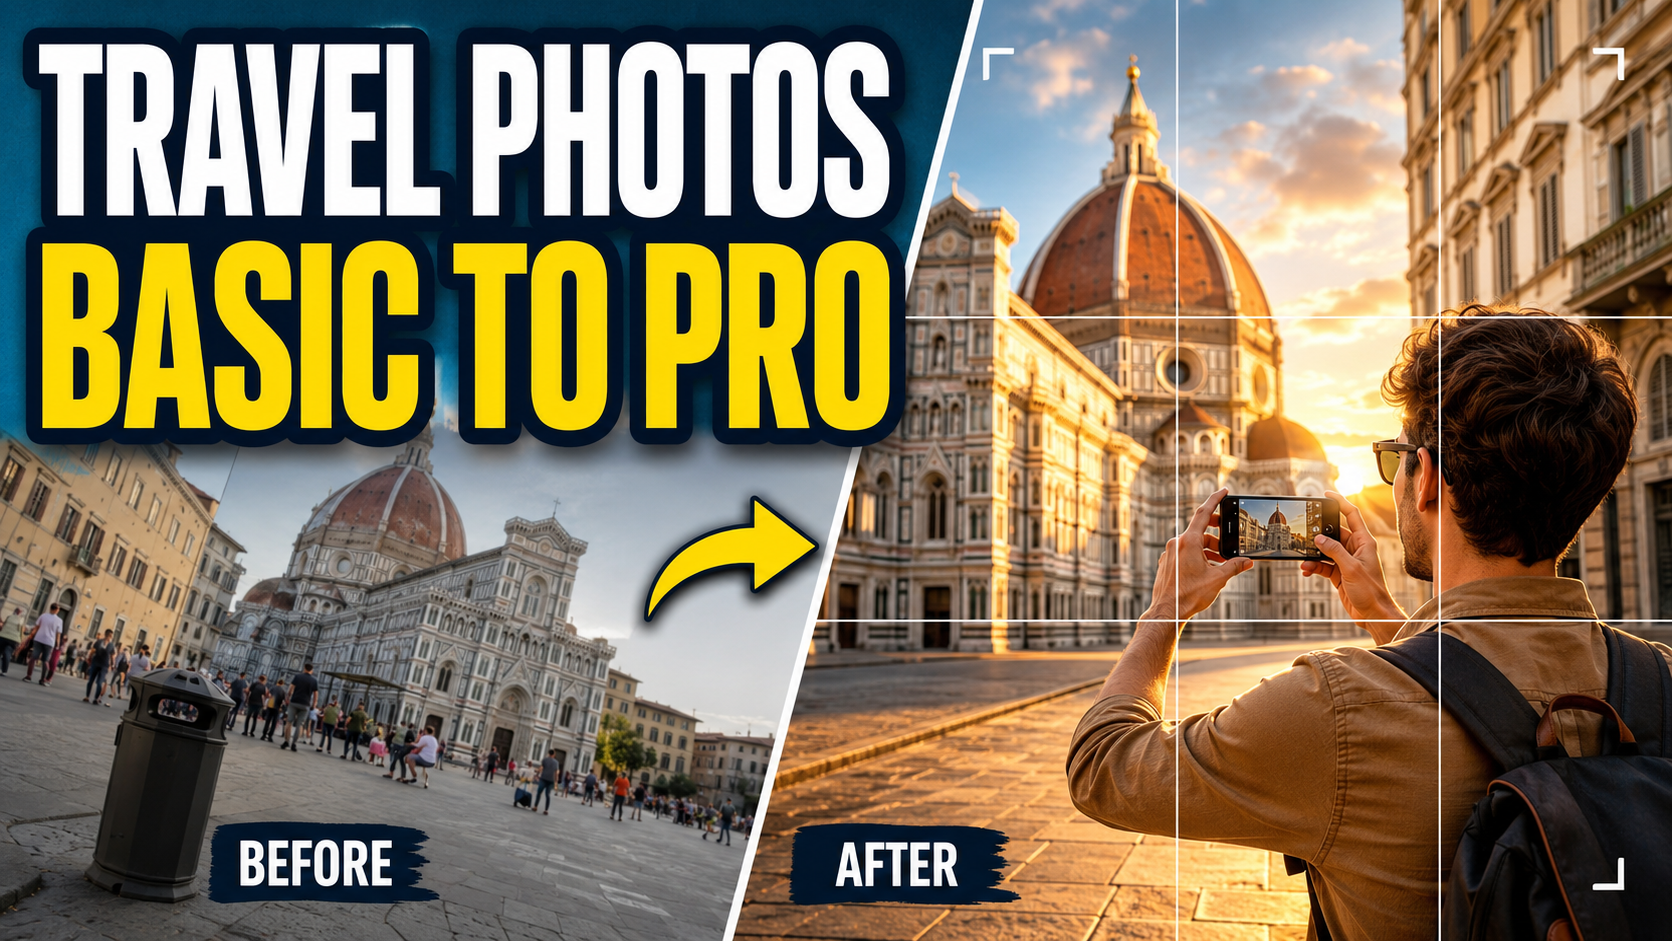
We’ve all been there. You are in front of a beautiful monument, the sun is hitting it perfectly, and you take a picture. But when you look at your phone later, the picture looks flat, cluttered, or utterly swamped by a tour group.
You don’t need a $1,000 camera setup to take professional-looking travel photos. It’s about some cool shooting tricks and a good, simple editing routine. Here’s how to take your vacation photos from basic snaps to pro-level shots.
1. Easy Rules for Better Composition
No amount of editing can save a badly composed photo. Take another two seconds to set up your shot before you even press that shutter button.
- Activate the grid lines: Go into your phone settings and turn on the camera grid. Use the rule of thirds by positioning your main subject, such as a person, lighthouse, or interesting tree, on those grid lines or at the intersections of the grid. Right away, it makes the image look balanced.
- Use natural frames: Use your surroundings to frame your subject. Shoot through an archway, under tree branches, or through a window frame. This adds depth and draws the eye right where you want it.
- Change your point of view: Don’t take all your photos from eye level. Bend down low to make the cobblestone street look more grand, or hold your phone high to get the scale of a busy market.
2. Working with Light (and handling bad weather)
Travel images are all about the light. Pros don’t just shoot whenever; they plan their day around the sun.
- The Golden Hours: The hour before sunset and the hour after sunrise are the times that give the softest, warmest light. Shadows are long and dramatic; everything appears a bit magical.
- Midday Sun Strategies: The harsh midday sun creates dark shadows under people’s eyes and bleaches colors. If you’re shooting at midday, look for open shade, like under trees or awnings. If not, lean into the contrast and search for fun shadows on walls or pavement.
- Cloudy Days Don’t put your camera away just because it’s cloudy. Gray skies are like a big soft box, softening the light. This is actually the optimal time for shooting colorful street scenes, colorful architecture, and close-up portraits because there are no harsh reflections to fight against.
3. Clean Up the Mess After Shooting
Travel places are busy. You might get that perfect candid shot only to have the beautiful view ruined by a bright plastic trash can or a stranger. This is where strategic editing comes in.
- Crop with intent: Crop the image before you touch any color sliders. Remove messy edges, empty pavement or partial cars at the edges of your frame. Keep the focus entirely on the story you are trying to tell.
- Remove distracting backgrounds: You don’t need to be a pro editor to clean up your shots. If you’re in a new city and a busy background is ruining a great portrait of you, you can easily remove background distractions with online design tools like Canva to isolate yourself. You can cut cleanly through the chaotic marketplace behind you and place yourself on a cleaner, softer background, or replace it altogether to keep the focus squarely on your travel memory.
- Improve blurry photos: Sometimes the perfect moment happens quickly, leaving you with a slightly soft or blurry image. Instead of deleting it immediately, you can use tools like Canva’s Unblur Image feature to sharpen details and improve clarity. This can help rescue memorable travel shots that were affected by motion, low light, or an unsteady hand.
- Straighten your horizons: A slightly tilted ocean or crooked building instantly screams amateur. Use the straighten tool in your editing app to ensure that your horizontal and vertical lines are perfectly straight.
4. Easy Steps to Edit Colors
You don’t want your photos to look fake or overdone. The point is to make them look how the scene actually felt when you were standing there.
- First, fix the exposure: Bring up the shadows a little bit to expose the detail that is hidden in the dark areas. Bring down the highlights if the sky or bright walls are completely white and blown out
- Add some warmth: Travel photography generally benefits from a touch of warmth. If your photo looks too cold or blue, drag the temperature slider towards the yellow side for a sun-kissed look.
- Increase contrast and saturation slightly: A little goes a long way here. Increase the contrast slightly to give the image more punch, and use the vibrance tool rather than saturation. Without turning human skin tones to orange or neon, vibrance makes the less vibrant colors in the photo more vibrant.
Great travel photography isn’t about capturing a perfect, unattainable reality. It’s about decluttering, finding the best light available and using quick editing tools to let the beauty of the destination shine through. The next time you pack your bags, think about these simple steps and watch your travel feed transform.